Localizating museum panels: Monterey’s first Chinese immigrants

Copyright Disclaimer: under section 107 of the Copyright Act of 1976, allowance is made for “fair use” for purposes such as criticism, comment, news reporting, teaching, scholarship, education, and research. This project is a proof-of-concept, and as such does not represent nor infringe on the creator(s) in any way.

Introduction

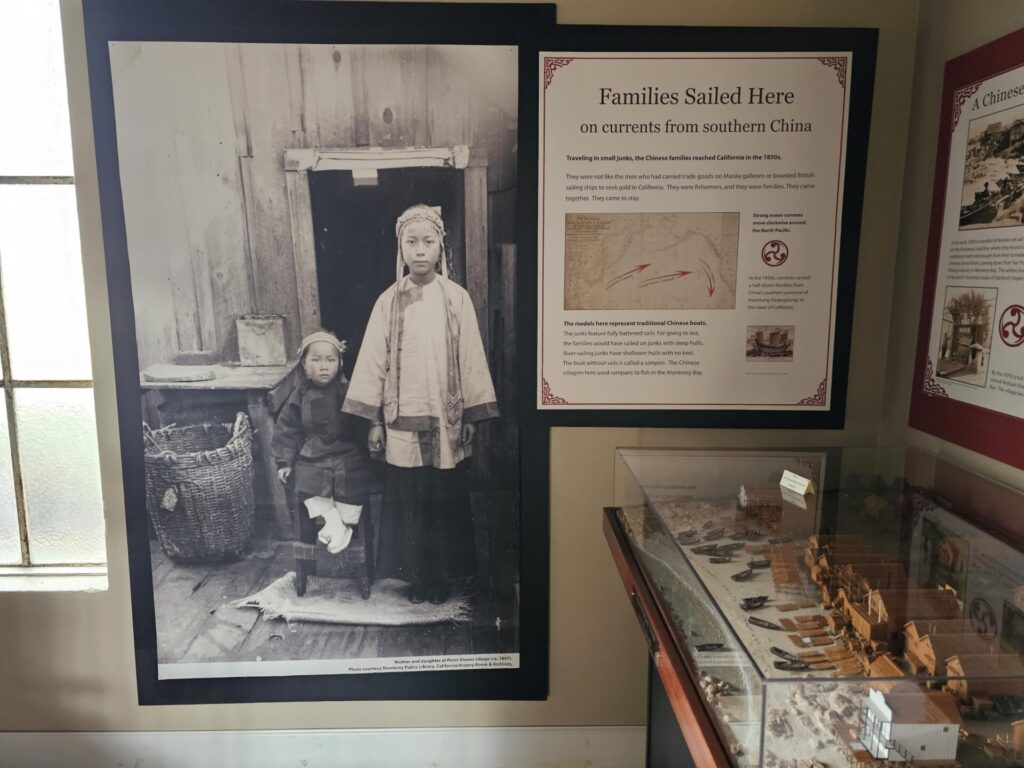
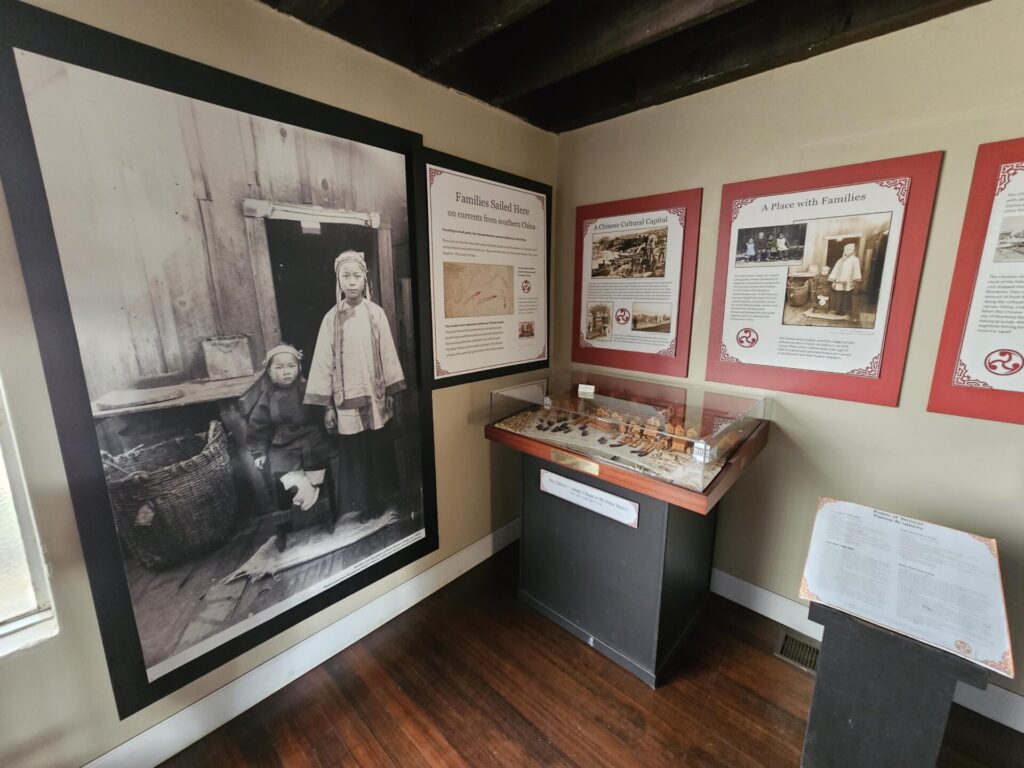
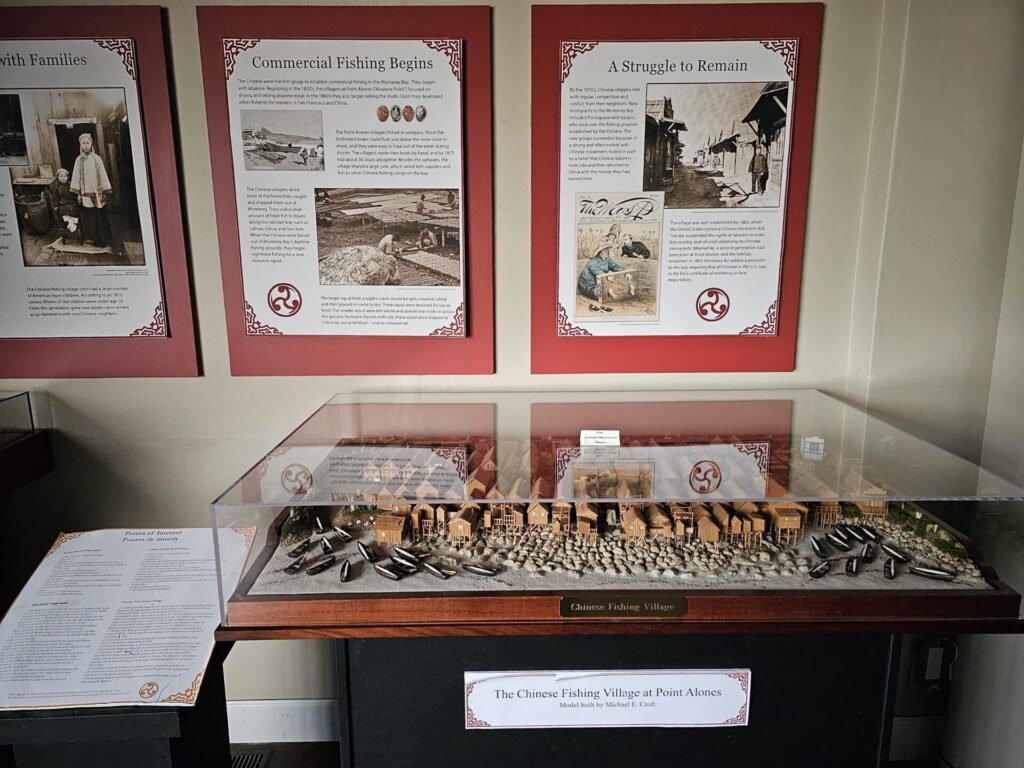
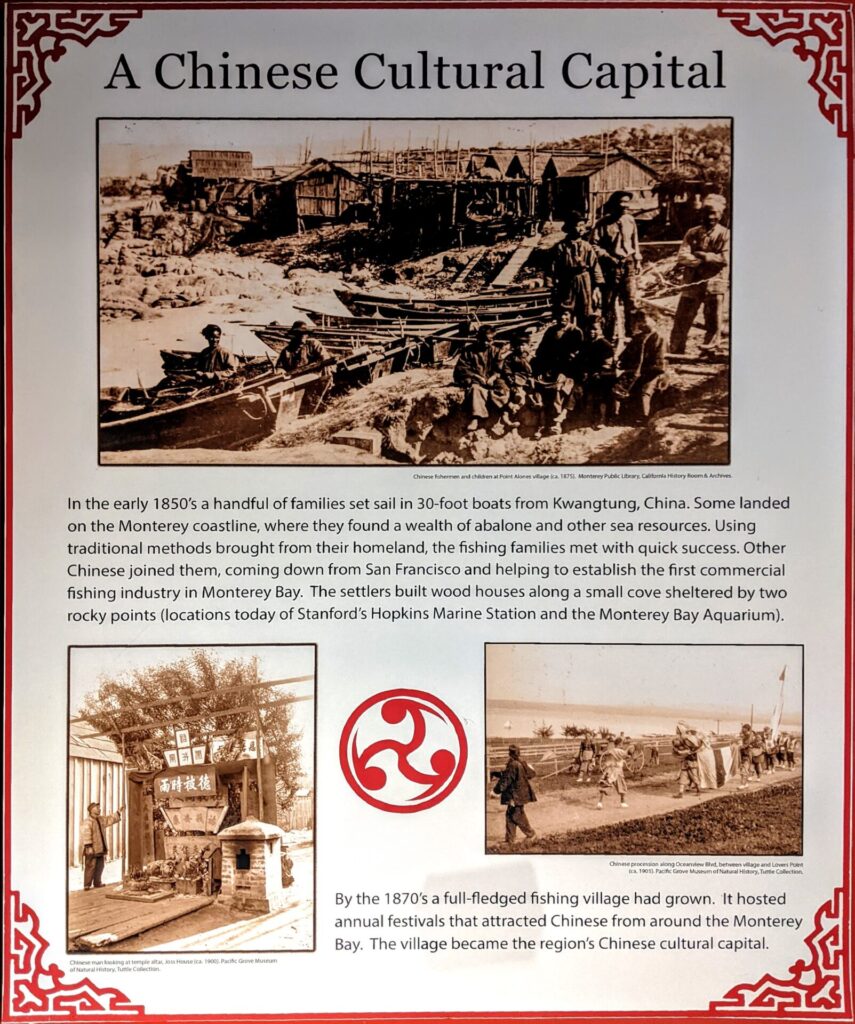
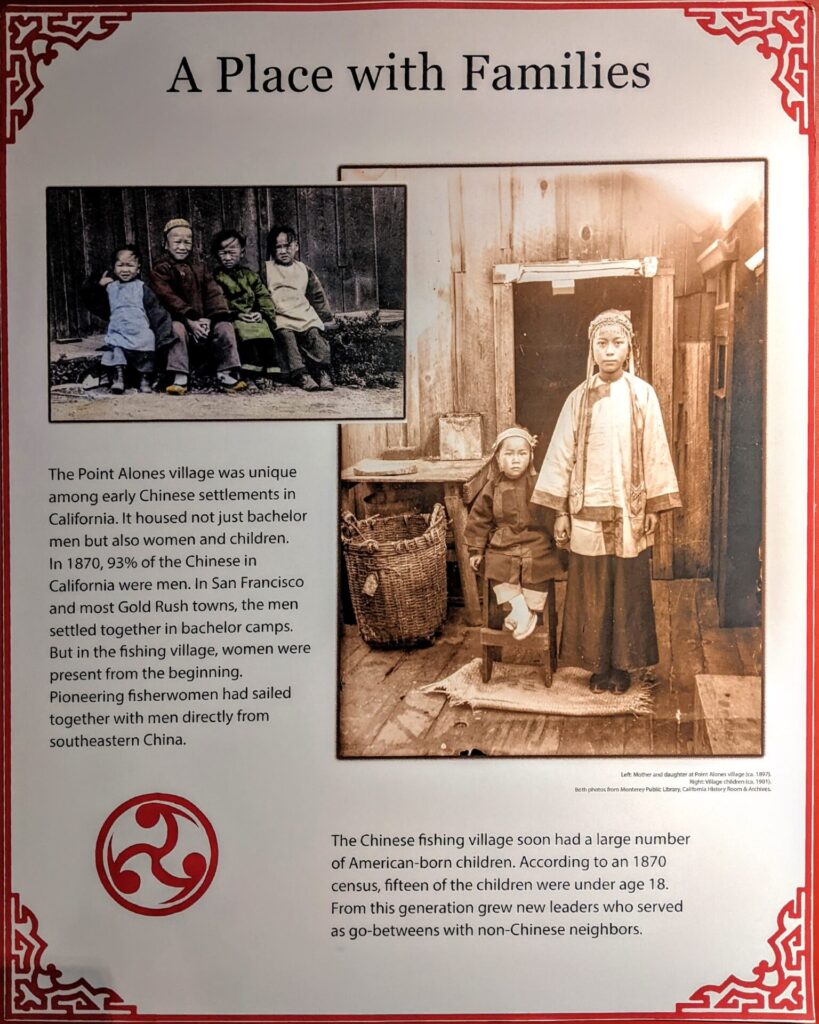
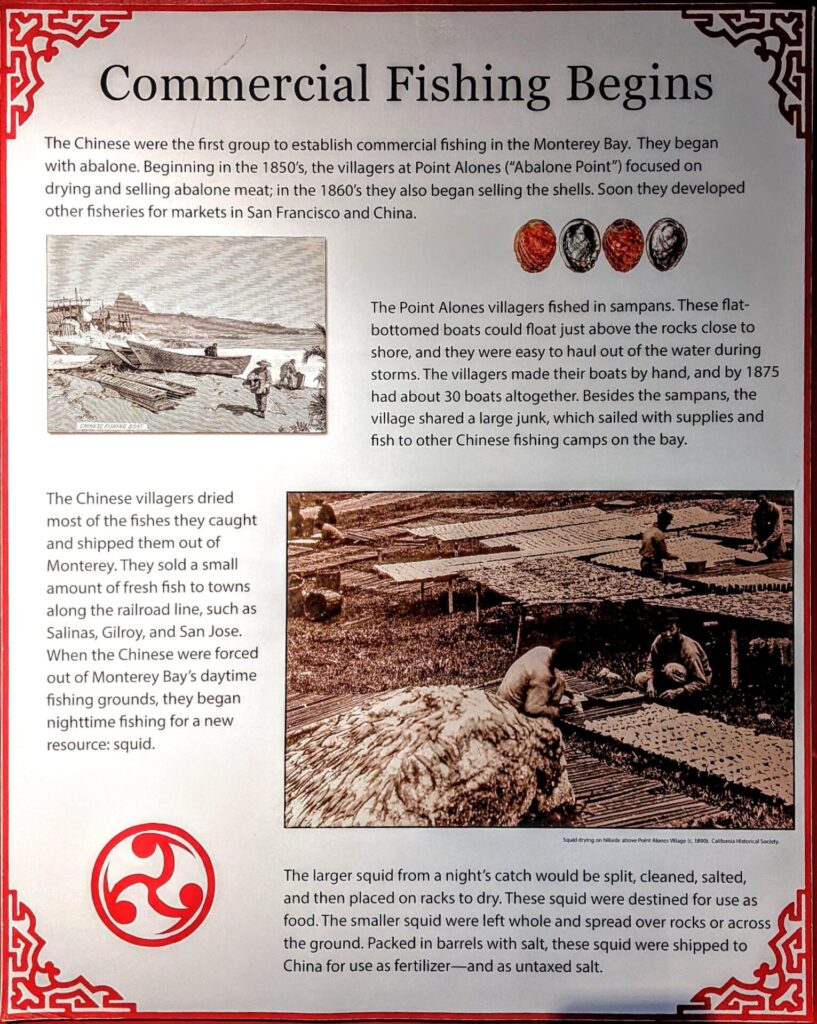
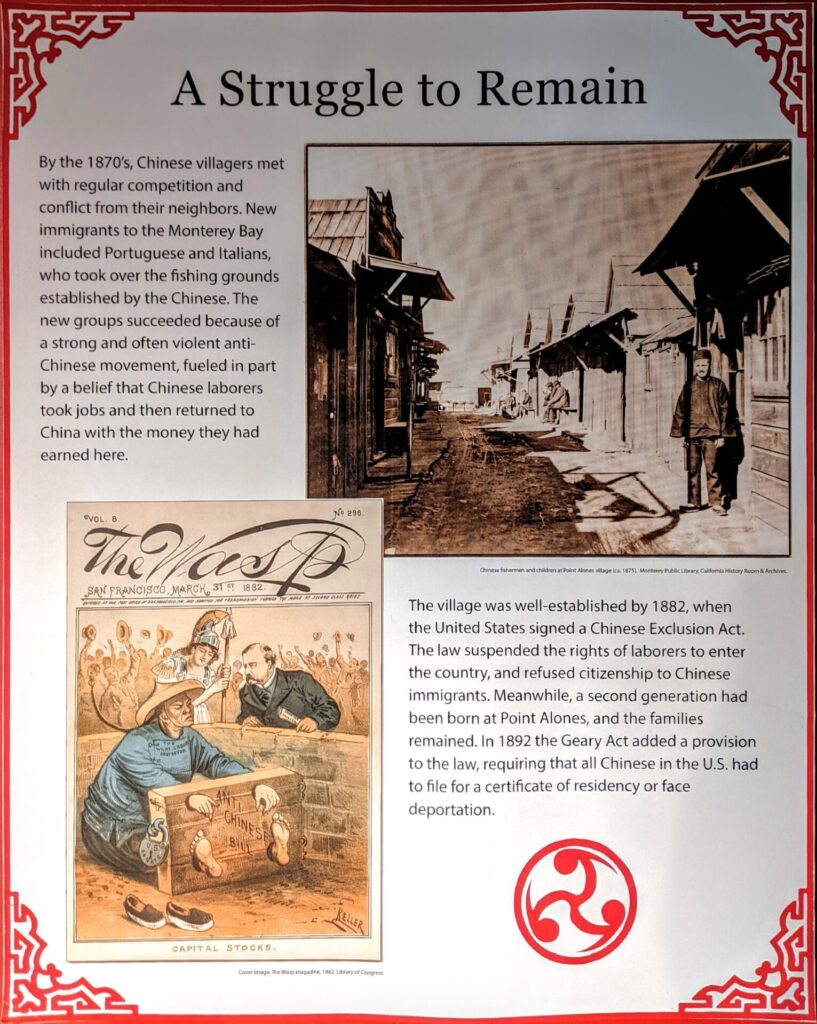
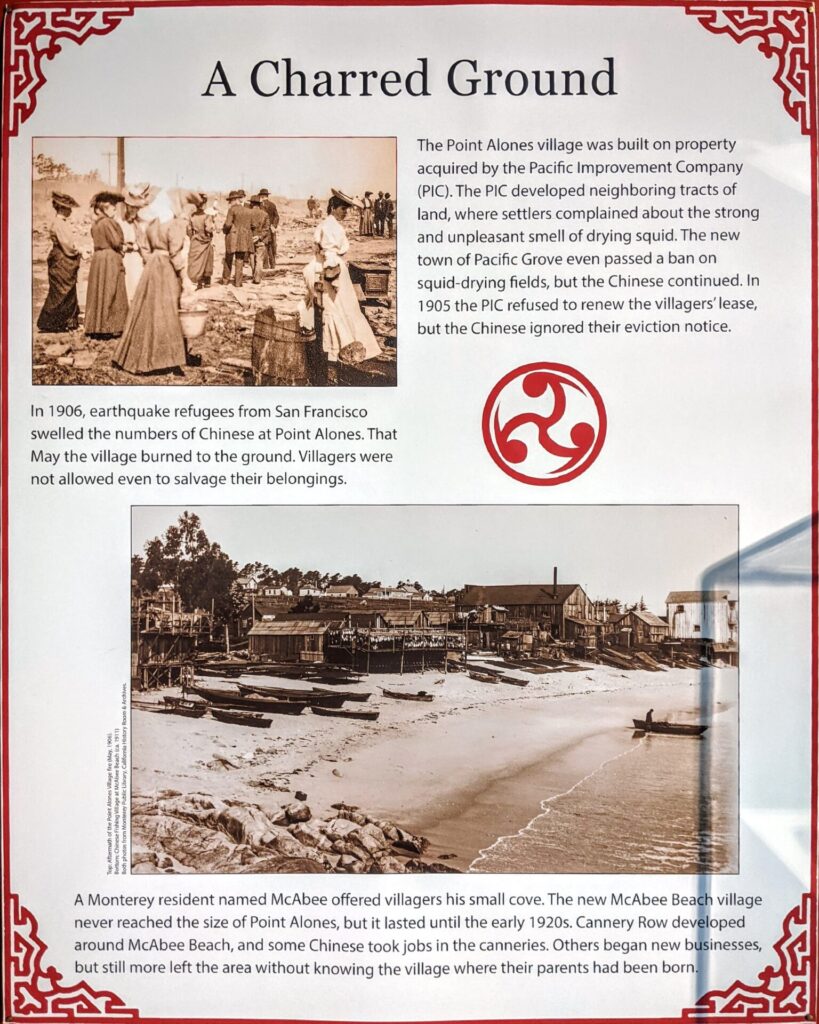
If you live in Monterey and have been to the Pacific Grove Museum of Natural History, you must have noticed a little exhibit there about the history of Chinese fishermen who arrived in Monterey in the 1800s. They were the first Chinese immigrants in town and their stories went untold.

I was touched reading the history but unfortunately there was no Chinese translation to those exhibits. I plan to provide simplified Chinese translation to those panels so that local Chinese community can learn about this history even if they cannot read in English, especially the elders and the children.

Apart from translation, the other thing I’m going to do is redesigning the layout of panels. According to the museum, they were not looking for bilingual panels as there was simply not enough space on the wall to be put on. What they had in mind was something lighter like pamphlets. Therefore, my objective was not to make the pages as close to the original as possible.

Workflow

1. Prepare assets

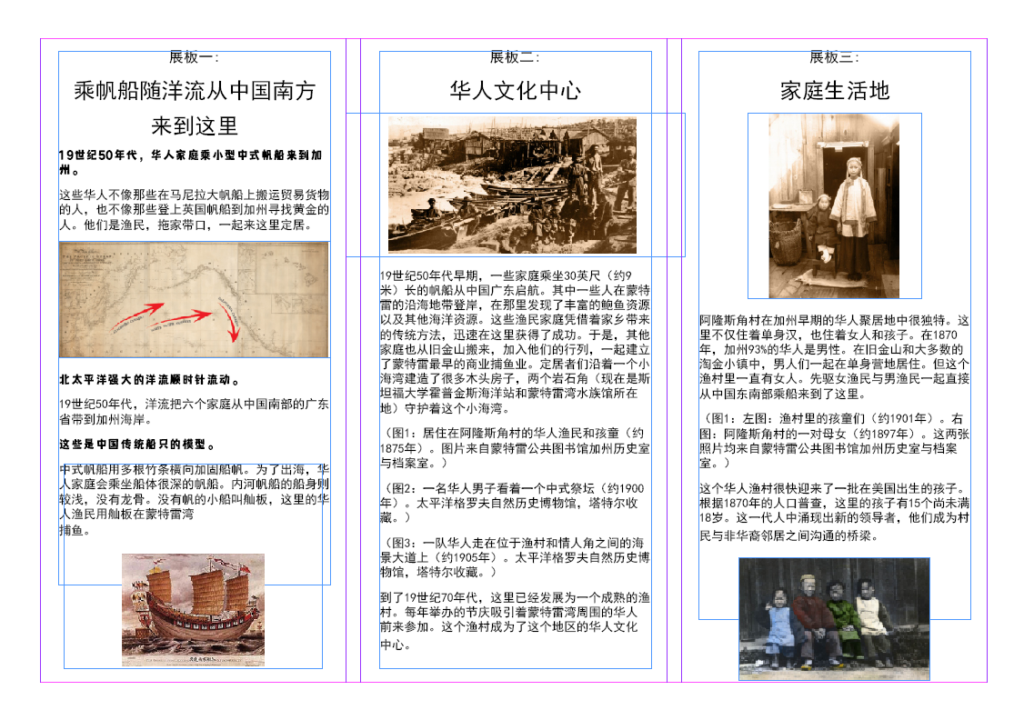
There are six panels in total. When I first visited the museum, I took some photos of those panels without thinking that one day I would use them for a project. As you can see from these pictures, the exhibit was in a corner with relatively poor lighting.

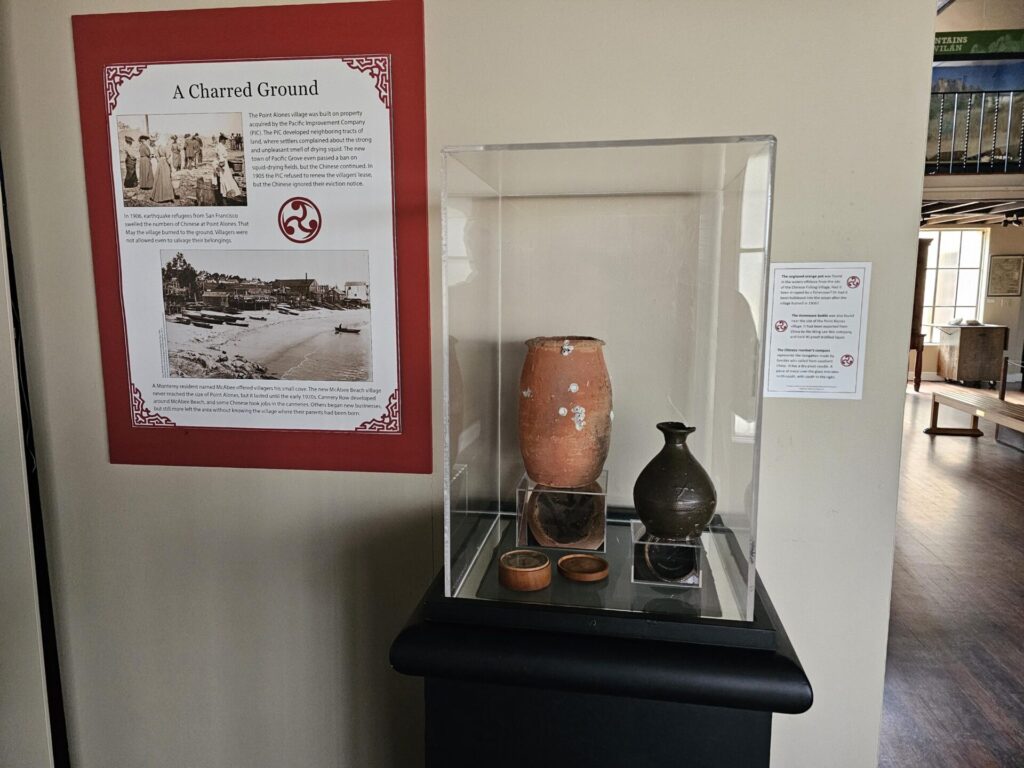
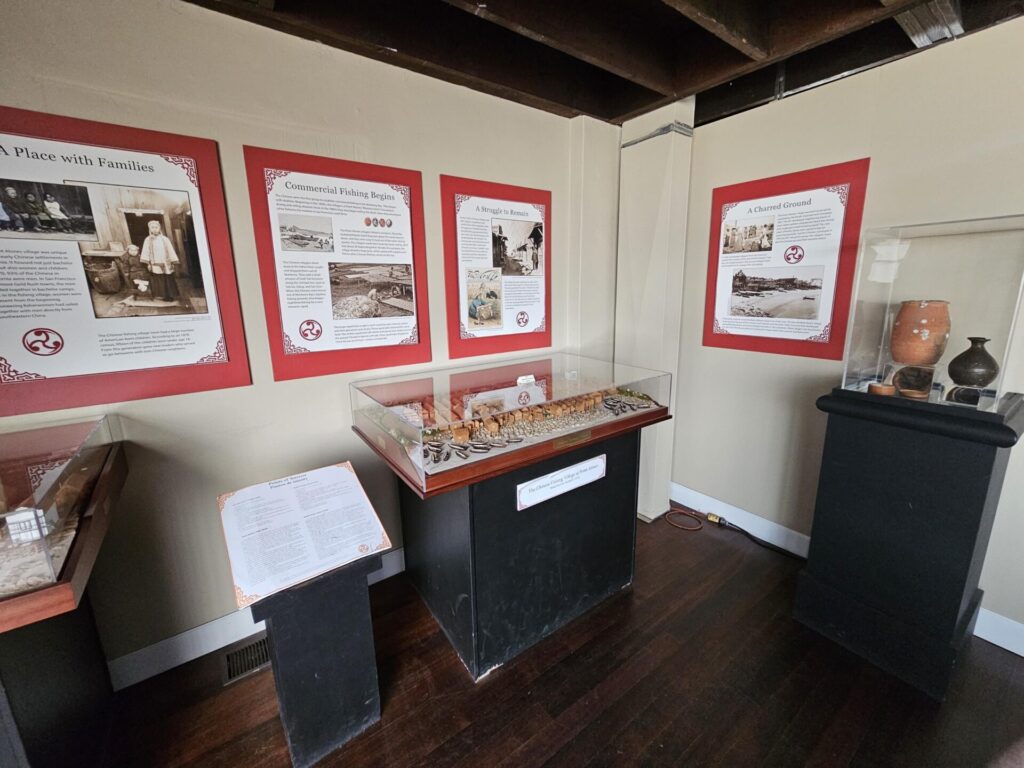
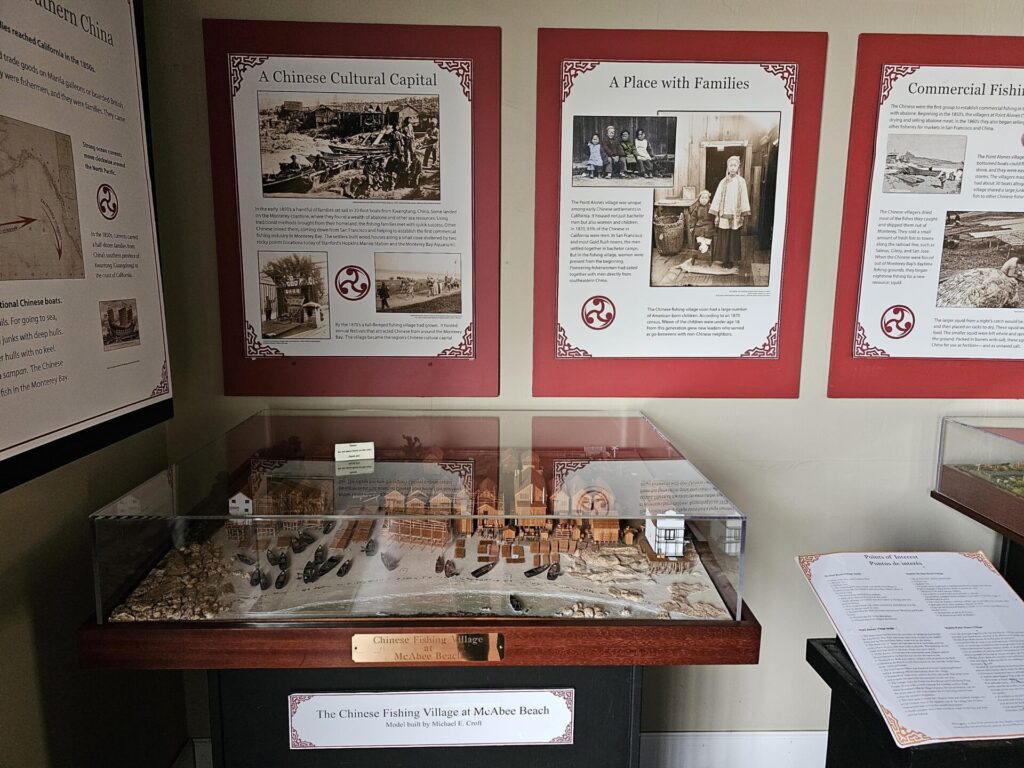
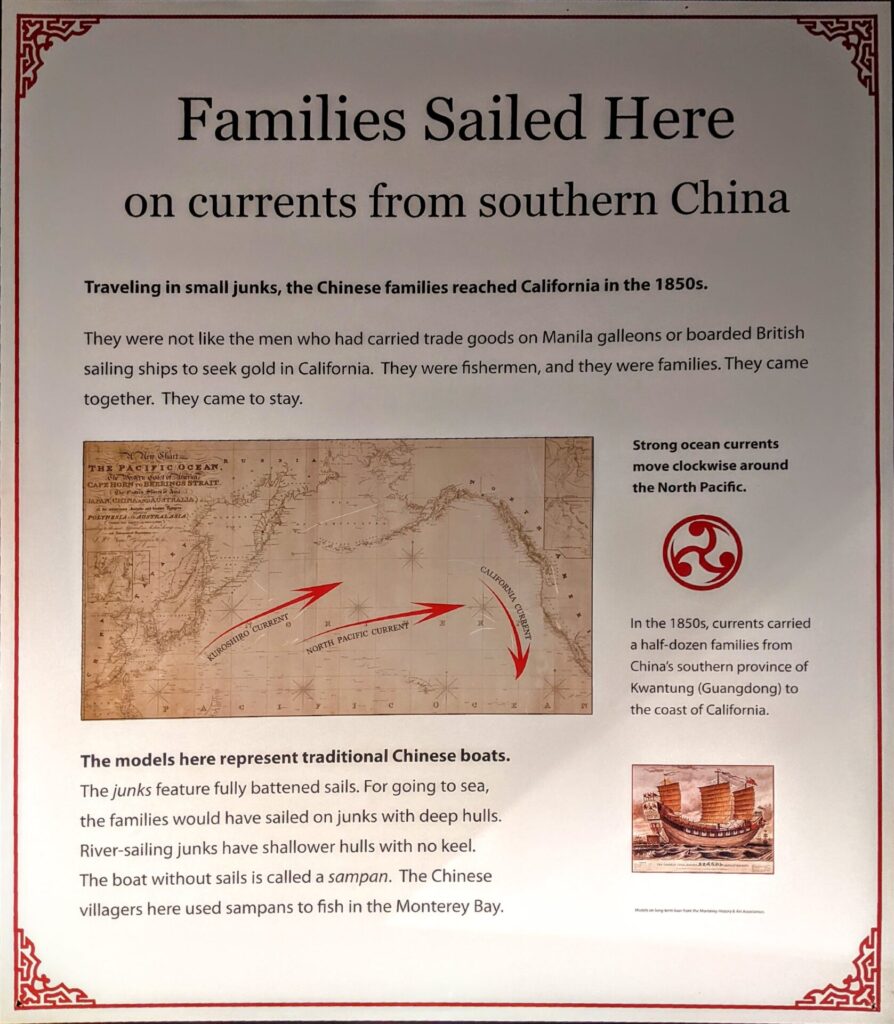
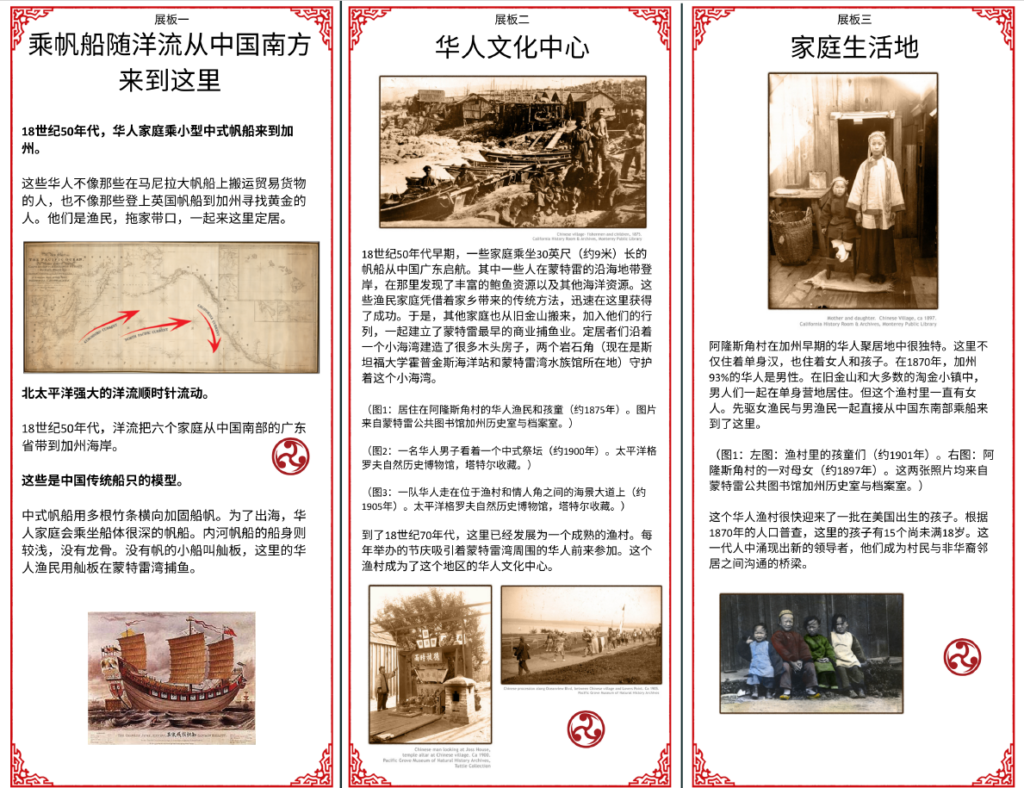
After I made up my mind that I wanted to do this project, I contacted the museum for editable files. The museum was very responsive, but unfortunately, they couldn’t find what I asked for in their system. All they could provide was another set of clearer, close-up photos, plus the verbatim transcript in a .doc file. I admit the situation is not ideal, but this could be one of the scenarios in the real world. I decided to work with what I have and see how that goes.

2. Translation

Since the verbatim transcript of the panels is already good to use, I was saved from extracting the text from the photos. Normally, we would need to hire human translators for this kind of translation and probably a subject matter expert (SME) for review and consultancy, but for the purpose of simulation and for the sake of time, I’ll just use machine translation on Phrase and perform one round of quality assurance on the result to fix the most obvious mistakes.

The rest is fairly straightforward:

  1. Create a project on Phrase with machine translation engine enabled;
  2. Create a new job in the project and upload the .doc file;
  3. Let Phrase do its thing and download the result.

3. Redesign the layout

3.1 Create an Indesign Project

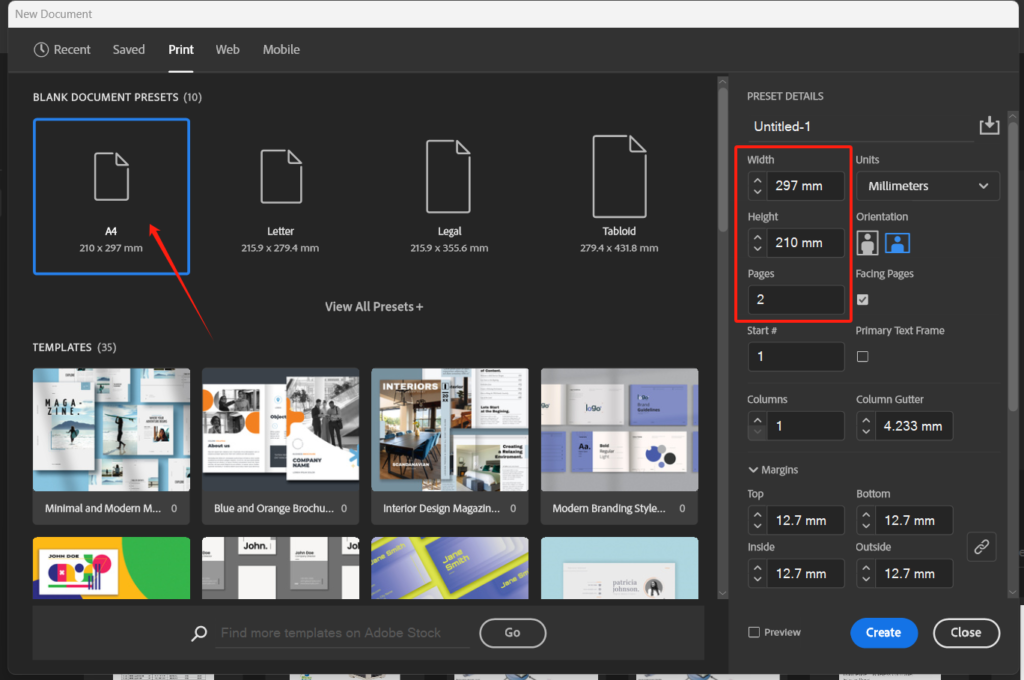
One common size of pamphlet is a three-fold of an A4 page. Considering there were 6 pages to design, it would be convenient to make two three-fold A4 pages. In Adobe Indesign, we can choose A4 as the page size and switch the height and width. Then select 2 pages and it would be all set.

3.2 Page settings

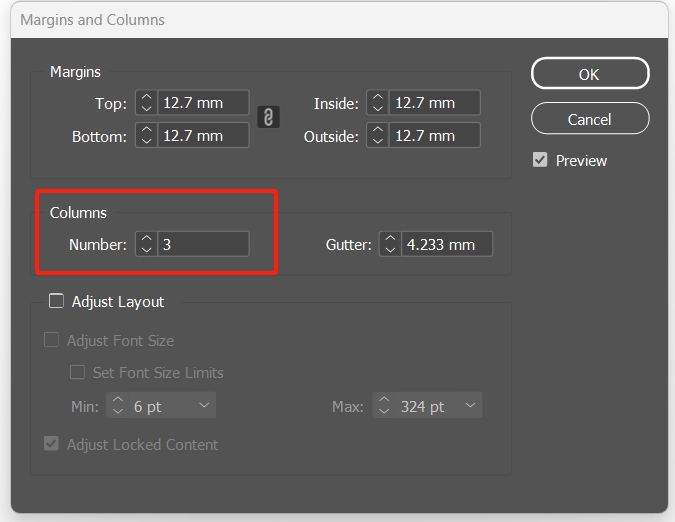
In the top menu “Layout – Margins and Columns”, type “3” in the columns. Then the page would be automatically divided into three columns. Use Type tool to drag three text boxes and paste the translated Chinese text. Change the font to a proper Chinese one to avoid “tofu”.

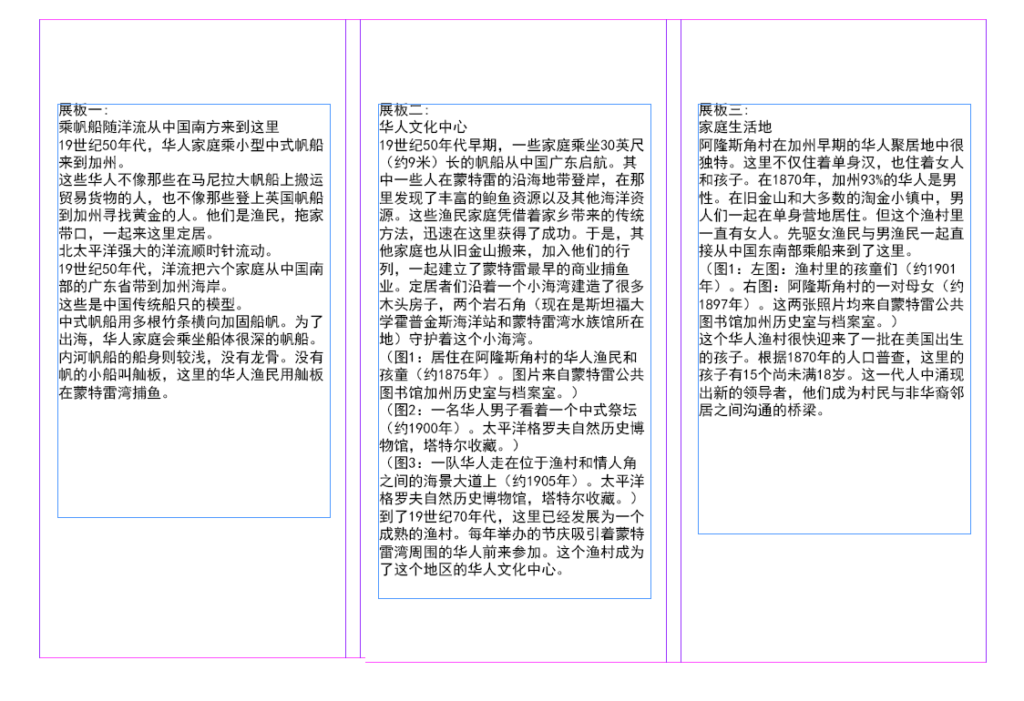
Next, a couple of steps were followed:

  1. Create new Paragraph Styles and apply each style to corresponding section;
  2. Adjust spaces between paragraphs;
  3. Add pictures and adjust the layout.

3.3 Clean-up

Takeaways

Using InDesign for creating museum pamphlets ensures consistent and visually appealing layouts. Its robust typography and image integration tools provide precise control over design elements. However, as someone who’s used to Microsoft Word, InDesign sometimes can be a little bit difficult to get the hang of.

Source

https://www.pgmuseum.org/pacific-groves-chinese-fishing-village

https://pgmuseum.pastperfectonline.com/photo

Project Showcase: TMS Evaluation and Selection

Copyright Disclaimer: under section 107 of the Copyright Act of 1976, allowance is made for “fair use” for purposes such as criticism, comment, news reporting, teaching, scholarship, education, and research. This project is a proof-of-concept, and as such does not represent nor infringe on the creator(s) in any way.

Introduction

The purpose of this project is to simulate the enterprise software evaluation and selection process for a company that needs to invest in the purchase of a TMS (Translation Management System). We will discuss how a TMS will help our chosen company, Tesla, as it’s having a more prominent global presence.

Our team provides high quality translation and localization services to support Tesla’s global operations. We help ensure that all production information, marketing materials, technical documentation and customer support content are accurately translated and culturally adapted for Tesla’s diverse international markets.

Tesla’s Pain Point

Tesla is building a world powered by solar energy, running on batteries and transported by electric vehicles each year. Tesla’s global strategy prioritizes a unique distribution network built around company-owned stores and service centers. This approach allows for direct customer experience by controlling the distribution network. Tesla tailors the customer service from the point of sales through servicing during this process, ensuring consistent brand messaging while providing customized experiences, which has become more difficult as they continue to expand business to new markets.

Efficiency issues are becoming increasingly prominent as a result of customization. We proposed a solution that allows for customization, consistency and efficiency all at the same time, which will definitely speed the efforts to reach our common goal without bringing extra workload.

Our approach

Since this is a big investment, we must not only make a choice but also persuade others to buy into our choice. We need to persuade them by designing and sharing a reasonable evaluation process.

The first thing we did was to justify our recommendation about TMS. We started by identifying requirements from different stakeholder teams, including IT department, Research and development department, marketing and legal team, in-house translators, and our major vendors. The top eight requirements are integration, cost, workflow customization, automation, user-friendliness, scalability, support and training, and security. Based on these essential requirements, we compared two major providers: Phrase and Smartling.

By identifying and weighing the requirements in a scorecard, we are able to evaluate the pros and cons of each TMS, therefore deciding which TMS is the best choice for our client. The evaluation scoring scale is divided into five levels from 1 to 5.

As for the weights, it is designed with consideration taken into by two factors. The first one is the past experience from the language services department, and the second one is the final result of the collected feedback about the priorities among all these requirement.

Based on the weights assigned and the actual scores, the final results tilts toward Smartling, winning by a margin of 0.4, which is largely due to its overall better performance in terms of automation, scalability, and integration.

So up to this point, the choice is easy to make. The winner is Smartling and that’s what we are going to propose to the client.

Presentation

Documents

“Do you hear the people sing?” -Creating a multilingual music video while using Karaoke subtitles

Copyright Disclaimer: under section 107 of the Copyright Act of 1976, allowance is made for “fair use” for purposes such as criticism, comment, news reporting, teaching, scholarship, education, and research. This project is a proof-of-concept, and as such does not represent nor infringe on the creator(s) in any way.

Introduction

When the movie Encanto was first released in 2021, I was immediately mesmerized by the musicals created by talented Lin-Manuel Miranda. The most memorable song to me, and to many other fans, is without any doubt, “We don’t talk about Bruno”. My love for this song is deepened when I found out that there is a multilingual edit on Youtube. Guess what, it’s even better than Frozen!

This is truly a fantastic way to showcase the quality localization work being done to a movie, or a song, to be specific. It involves lyric translation, song dubbing and a possible centralized mixing process. I wanted do the same for my beloved movie “Les Miserables”, which was first released in 2012. This great piece of musical contains several classical songs including the famous “Do you hear the people sing?”. Unfortunately, even after more than a decade, this song has never been officially translated and dubbed into other languages on screen, but there are plenty of fan-made versions online. It would be exciting to collect those versions and edit them into a multilingual video while using Karaoke subtitles!

The official original MV of “Do you hear the people sing?” :

Workflow

1. Prepare assets

Since there are no official translated videos, the best approach would be choosing the fan-made versions of the highest quality I can possibly find. After spending some time searching the internet, I managed to find the translated videos in 6 languages: Mandarin, Japanese, Korean, German, French and Russian. There were videos in other languages but the mixing quality was subpar and the singing was inaudible.

I used Youtube4kDownloader to download all the audio files in .mp3 format. Combined with the original video (with the original audio embedded), now I have 7 audio tracks and 1 video track for visual reference. Once I named everything properly, the assets were ready to use.

2. Edit audio tracks

In Adobe Audition, I created a new multitrack session and imported all the assets. Another setting I changed was to turn on the video reference by clicking “Window-Workspace-Edit Audio to Video”. This will allow me to check the lip sync along the editing process.

The next step was dragging the original video onto the first track and using the razor tool to segment the original English audio into 8 clips with nearly the same duration. Those clips would be replaced with translated clips one by one later.

From now on, I would drag the translated audios onto the following tracks one by one, name the tracks properly, and extract the same lines of lyrics corresponding to what I segmented in the original English audio. This step took quite a lot of time because not all audios shared the same speed, volume, timbre or tempo as the original. But that’s OK, I could edit a draft cut first and deal with the specifics later.

I combined all the translated clips onto one track, adjusted the speed, balanced the volume, added fade-in and fade-out, to make the whole song as natural as possible. I muted the original clips that had replacement translated audios, then I could finally export the multitrack mixdown for the next step.

3. Add on-screen text and replace audio

In Adobe Premier Pro, I added a title at the beginning of the video and a couple of on-screen text indicating the languages changes. It was a simple task. Apart from choosing fonts and colors I like, one thing I did was to add a 75% transparent background to the text boxes so that they would be more distinguished from the video itself.

Next, I simply unlinked the original audio from the original video, and replace it with the mixdown. Voila, the video is good to go!

4. Add Karaoke Subtitles

For this task, I chose to use Aegisub because it provides Karaoke subtitle function that’s easy and intuitive to use. There were 3 reasons why I didn’t start with auto-generated caption in Adobe Premiere Pro:

  1. There were multiple languages, and they were in singing. It would be almost impossible for the engine to generate correct captions. As a matter of fact, I did give it a shot and the output was a disaster.
  2. Premiere does not support .ass files, which is the format of Karaoke subtitle. Even if I managed to generate a passable caption, it could only be exported to an .srt file, which could in theory be converted but it was not worth the effort, considering it’s only a 2-minute video and I was going to edit the Karaoke in Aegisub anyway.
  3. The lyrics were already available on the internet (except Russian), I could simply copy & paste.

First thing I did was to create a timeline. This could be easily done by dragging the red and blue line on the waveform to mark the in time and out time of a subtitle. Since this was not a serious corporate-level project, I skipped the hassle like frame gaps and spot changes. Once the timeline was created, copy & paste the existing subtitles took no time.

Adding Karaoke style to the subtitles was a little bit trickier. The first thing I needed to do was to segment each subtitle into individual characters (CCJ languages) or words (western languages). For Korean, it could be both as it has both individual characters and spaces in the sentences to serve as delimiters. After segmentation, all I had to do was to adjust the duration of each segment on the waveform to make the Karaoke “flow” simultaneously with the actually singing.

5. Burn in the Karaoke!

After I finished with all the subtitles (except Russian), I exported the .ass file and tossed it into Handbrake with the video for burn-in. As I mentioned earlier, Adobe Premiere Pro does not support .ass file so I wasn’t able to use that.

Enjoy!

Source

国语演唱悲惨世界【听听人民的呐喊】 Do You Hear The People Sing Les Misérables中文普通话 可听见人民在呐喊 YouTube

Les Misérables | Do You Hear the People Sing?

“民衆の歌” – Do you hear the people sing in Japanese

À La Volonté Du Peuple – Les Misérables (1,000 SUBSCRIBER SPECIAL)

🇰🇷유튜버6인이 부르는 ‘민중의 노래’ 한국어 커버 (Do You Hear The People Sing?)

Do you hear the people sing Russian version

Das Lied des Volkes Lyrics (Les Miserables – Do You Hear the People Sing German)